We’ve all been there. You spend two hours on a set, you’re so proud of the art, and then a few days later, your client sends you a picture of her bare natural nail. When I was 15, my sets were thick, lumpy, and would lift if I even looked at them wrong. I used to think it was just bad luck but once I went to school, I realized that retention isn’t luck, it’s science.
If you’re struggling with nails popping off, don’t get discouraged. It’s usually just a few small tweaks in your technique that change everything. Let’s dive into the ways you can make your retention better !
The Holy Grail of Prep
If you take away one thing from this blog, let it be this: Prep is 80% of the work. You can be the best artist in the world, but if the nail isn’t ready, nothing will stick.
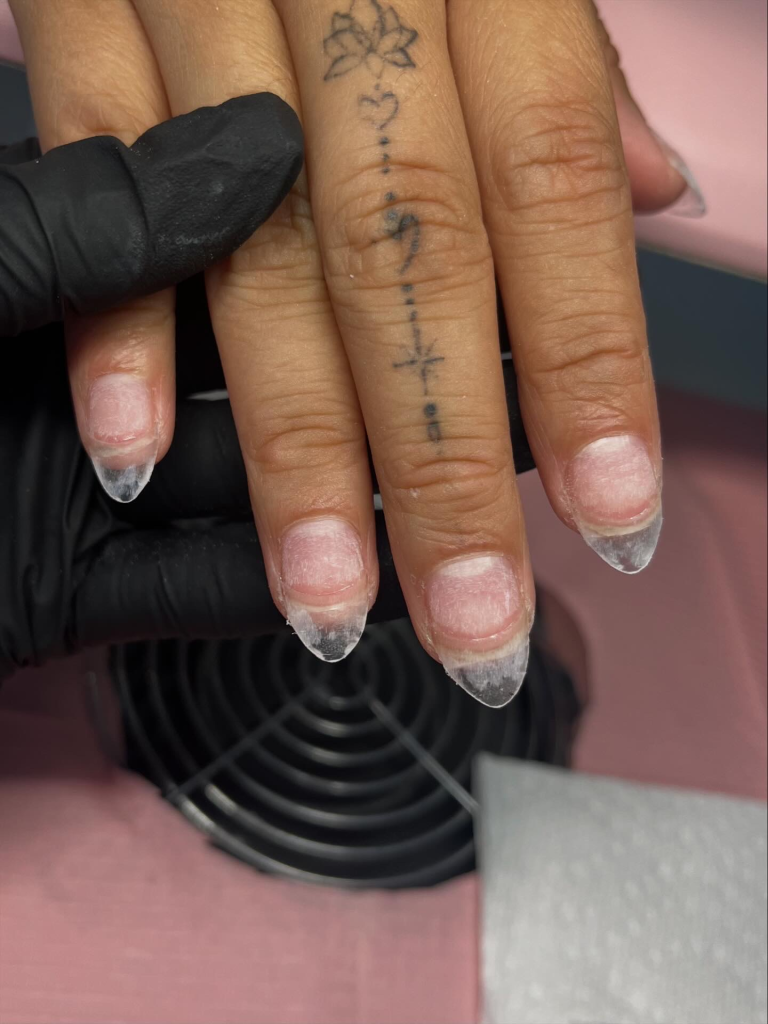
First, let’s talk about the cuticle. When we say “prep the cuticle,” we aren’t just pushing the skin back. You have to remove the dead skin that grows onto the nail plate, DEAD skin you need to make sure you’re not cutting off any living tissue. If your acrylic or gel touches a piece of skin, it will lift. I always use a diamond but when doing cuticle work.
Next is the surface. You need to remove the “shine”, but don’t over file! You’re just buffing the nail plate a tiny bit so the product has something to grip onto. Next is the golden duo: dehydrator and primer. Never touch the nail with your own fingers after you’ve prepped it. Your skin has oils that will ruin the bond.
Dehydrator: removes the oils and moisture from the nail.
Primer is like double sided tape. It creates a chemical bond between the natural nail and the product.
The Apex 101
One of the biggest reasons sets break or pop off is a lack of an apex. If your nails are flat like a piece of paper, they have no strength. The apex is the thickest part of the nail enhancement, that’s located where the free edge meets the nail bed.
Think of the apex like the pillar of a bridge. When your client hits their nail against something, the apex absorbs that shock. With acrylic, you build the apex with your second bead. You place it in the center and gently tap it toward the side walls.
If the nail is too thin at the stress point, it will snap. If it’s too thick at the tip, it will be top heavy and pull away from the cuticle. It’s a balancing act.
Liquid to Powder Ratio
This was my biggest enemy at 16. If your acrylic bead is too wet, it will flood the cuticles and will just run down the sides of the nail and finger. If it’s too dry, it won’t move and cures way before you even have a chance to sculpt anything.
You want your bead to look like a smooth, shiny pearl. After you dip your brush in the monomer, wipe one side of the brush against the dappen dish. Dip the tip of your brush into the powder, and lightly tap a few times. If the bead has dry powder around the edges, it’s too dry. If it’s dripping, it’s too wet. Mastering this chemistry is what separates the beginners from the pros.
The Top 5 Reasons Sets Fail
If you’re doing everything right and they are still popping off, check for these common mistakes:
- Touching the Skin: If the product touches the cuticle or side walls, it’ll lift which causes stuff to “pop off”
- Improper Filing: Leaving ridges near the cuticle area during the finishing file. Don’t damage your clients nails
- Cheap Lamps: If you’re doing gel and your lamp isn’t strong enough, the product stays gooey underneath which will also lead to contact dermatitis which is a big fat NO!
- Dust: If there is even a tiny bit of filing dust left on the nail before you apply primer, the product will sit on the dust, not the nail.
- Client Aftercare: Sometimes it’s not you! If your client is using their nails as tools to open soda cans or never being careful they will lift.
Retention takes time to master. Don’t be afraid to ask your clients for “retention photos” after two weeks so you can see exactly where the lifting is happening. Every lift is a lesson. Keep practicing, stay obsessed with your prep, and I promise you’ll see those 4 week old sets coming back in no time.